
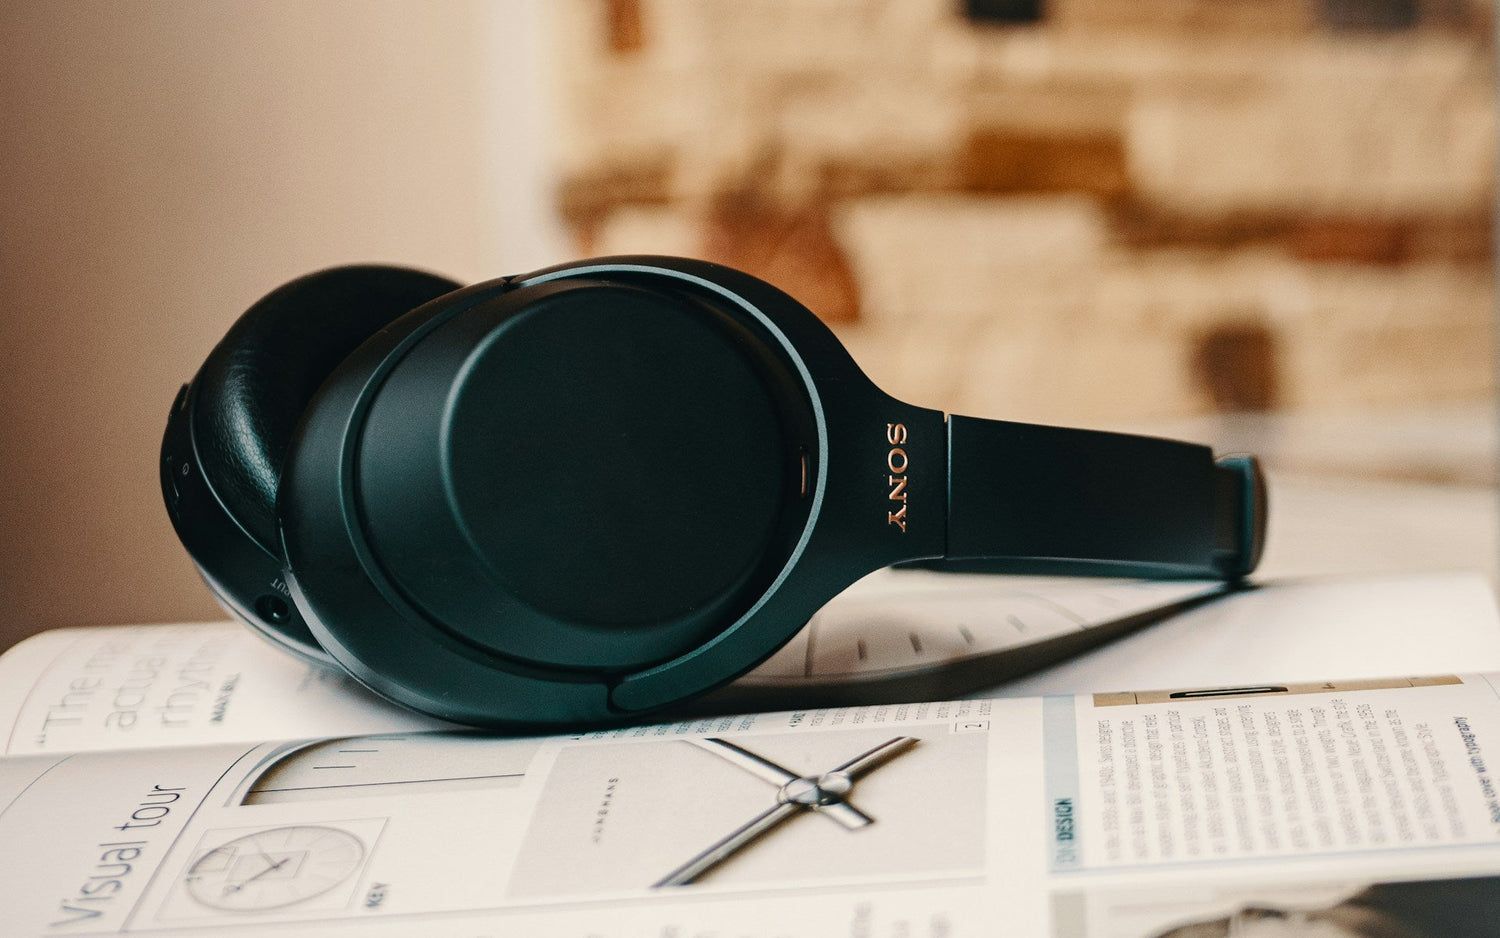
Stop Breaking Hinges Before the Summer Is Over
Sony headphone hinges seem to give up right after a long, busy summer. Months of travel, sweaty commutes, tossing your headphones into bags, and folding them a hundred times a week can turn a small hairline crack into a full hinge break. By late summer, that loose or squeaky hinge suddenly becomes a real problem.
This is usually when people try a quick Sony headphone hinge replacement before school starts again or office life picks up. The urge to fix it fast is strong, but one small mistake can turn a simple hinge swap into a broken headband or dead ear cup. Good headphones that only needed a hinge can end up in the trash.
We focus on parts, not repairs. At CentralSound, we stock purpose-built replacement hinges and other parts like headbands, yokes, screws, and ear pads so you can restore the gear you already love. Here, we will walk through common mistakes people make during Sony hinge replacement and how to avoid them, so your next fix actually lasts.
Choosing the Wrong Hinge Parts From the Start
Sony models can look almost the same at a glance, but the hinges often are not. A WH-1000XM3, WH-1000XM4, and XM5 all share a similar style, yet their hinge shape, screw layout, and internal plastic thickness are different. The same thing happens across MDR and WH-CH series. When you grab a hinge that looks “close enough” from a random listing, you set yourself up for trouble.
Common problems from almost-right parts include:
- Cups sitting at a weird angle
- Rattling or creaking when you move your head
- Stress cracks around screws because the fit is off
The safest way is to match your hinge using the full model number printed on the headphones, not just the series name. Some Sony models even have region or quiet revision changes that affect small details in the hinge area. Once you know your exact model, compare the hinge photos with your broken one, side by side. Look at:
- Shape of the yoke and how it hugs the cup
- Screw hole count and position
- Whether there is metal reinforcement in the hinge
- The angle and length of any arms or tabs
Another common mistake is buying generic “universal” or quick 3D printed hinges when there is an OEM-style or closely matched part available. Cheap or rough prints often have poor tolerances. That can mean:
- Uneven clamping force on your head
- Extra play in the joint so the cup never feels solid
- Faster wear on the headband and ear pads because the pressure is not even
When the hinge geometry is right, the rest of the headset can move and flex the way Sony designed it to, which is what you want for long-term comfort.
Skipping Prep with Tools, Workspace, and Part Inspection
A lot of hinge replacements go wrong before a single screw is turned. The problem is rushing. Grabbing whatever tool is nearby, sitting at a cluttered table, and thinking, “I’ll just swap this quick” can easily snowball into stripped screws and cracked plastic.
Before you start, it helps to have:
- Precision screwdrivers that actually fit Sony’s tiny screws
- Plastic spudgers or pry tools instead of metal blades
- Tweezers for washers and small parts
- A small container or tray for screws
When a driver does not fit well, it slips. That slip can chew up the screw head or skate across the plastic, leaving a deep scratch in the cup or headband. A clean, well-lit workspace with a soft towel or mat makes a big difference too. It keeps the finish from getting scuffed and stops micro screws from bouncing away.
One simple habit that helps is taking quick reference photos or short clips with your phone as you go. Snap a shot every time you remove a part. This gives you a visual roadmap when you are putting everything back in place.
Another mistake is not inspecting the new hinge before tearing into your headphones. When the hinge arrives, compare it with the broken one while everything is still assembled:
- Check orientation, left vs right
- Confirm screw hole size and depth
- Look for any metal inserts or built-in flex points
If anything looks off, it is better to spot it while your headphones are still in one piece, instead of halfway through with parts scattered on the table.
Forcing the Hinge and Damaging the Headband
One of the most painful errors is breaking the headband or yoke while trying to force a new hinge into place. Sony designs often rely on specific insertion angles and light flex in the plastic. If you twist or bend beyond what the part was meant to handle, it can snap in an instant.
Hidden risks inside the hinge area include:
- Internal wiring that runs through the headband and down into the cup
- Small clips that are meant to be gently pried, not yanked
- Thin mounting posts that are only there to hold screws, not to be used as levers
Metal screwdrivers can act like wedges and split plastic if you pry too hard in one spot. Plastic pry tools spread the pressure and are far kinder to your gear. Working around the joint slowly, releasing one clip at a time, lowers the chance of a sudden break.
If a piece feels like it needs more than light to moderate hand pressure, stop and double-check. Often there is still a tiny screw hidden under a cap, or a clip you have not freed yet. Seeing the natural movement of the hinge on a matching model in a video can make it easier to understand how the parts are supposed to separate.
Misaligned Reassembly and Ignoring Cable Routing
Getting the old hinge out is only half the story. Putting everything back slightly wrong can cause problems that do not show up until days or weeks later. Sony hinges often have small index points or keyed shapes that need to seat just right in the headband or yoke. If they sit crooked, you might notice:
- Creaking when you open or close the cups
- Extra swivel on one side
-
Ear cups that no longer fold flat or sit even on your head
The bigger hidden danger is the internal wiring that passes through the hinge area, especially on noise canceling models like the WH series. These wires are thin and do not like to be pinched.
Common cable mistakes include:
- Trapping a wire under a hinge plate
- Tightening a screw directly over a cable
- Twisting a cable so it constantly tugs as you fold the cup
The result can be crackling audio, sound cutting out when you move, or total failure on one side down the road. The best habit is to follow your disassembly photos in reverse and confirm each wire sits back in its original channel or groove. Make sure any built-in strain relief pieces are back in the same spot so the cable can move freely with the hinge.
If you notice a damaged screw, cover, or headband while rebuilding, it is better to swap that piece instead of forcing it to work. Fresh parts that match the hinge let everything line up and move smoothly.
Forgetting Post-Repair Checks and Long-Term Care
A Sony headphone hinge replacement is not really done until you test it through its full range of motion. Before you put your tools away, move the hinge like you would in daily life:
- Open the headband to full size and close it again
- Fold and unfold the cups if your model does that
- Rotate the cups through their normal travel
- Put the headphones on and adjust them a few times
You are listening and feeling for smooth motion, no grinding, and no sudden catches. Both sides should feel balanced. If one side is much tighter or looser, a screw might be over-tightened or sitting on an angle.
Another easy-to-miss point is screw tension. If screws are uneven, one mounting point can take almost all the load. Over time, that spot can crack. In some cases, thread-safe practices help keep screws from backing out with movement and heat. It is also smart to recheck hinge screws after a few weeks, especially if you use the headphones on hot summer days or toss them into a bag often.
For long-term care, small habits add up:
- Avoid overextending the hinge when packing your headphones
- Use a case or at least keep them away from heavy items in your bag
-
Wipe around the hinge once in a while so dust does not grind into the joint
When you replace a hinge, it can be a good time to refresh other wear parts too. New ear pads or a fresh headband cover paired with a solid hinge can make familiar headphones feel surprisingly close to new, without needing to replace the whole set. With the right parts and a careful approach, a single hinge replacement can carry your favorite Sony headphones through many more seasons.
Restore Your Sony Headphones With Expert Parts Today
If your headband is cracked or your earcup is hanging by a thread, we can help you bring your favorite pair back to life with our specialized Sony headphone hinge replacement parts. At CentralSound, we stock high-quality components designed to fit and function like the originals. Explore the parts you need, and if you are not sure which hinge or accessory is right for your model, simply contact us for quick, personalized guidance.

Leave a comment
All comments are moderated before being published.
This site is protected by hCaptcha and the hCaptcha Privacy Policy and Terms of Service apply.