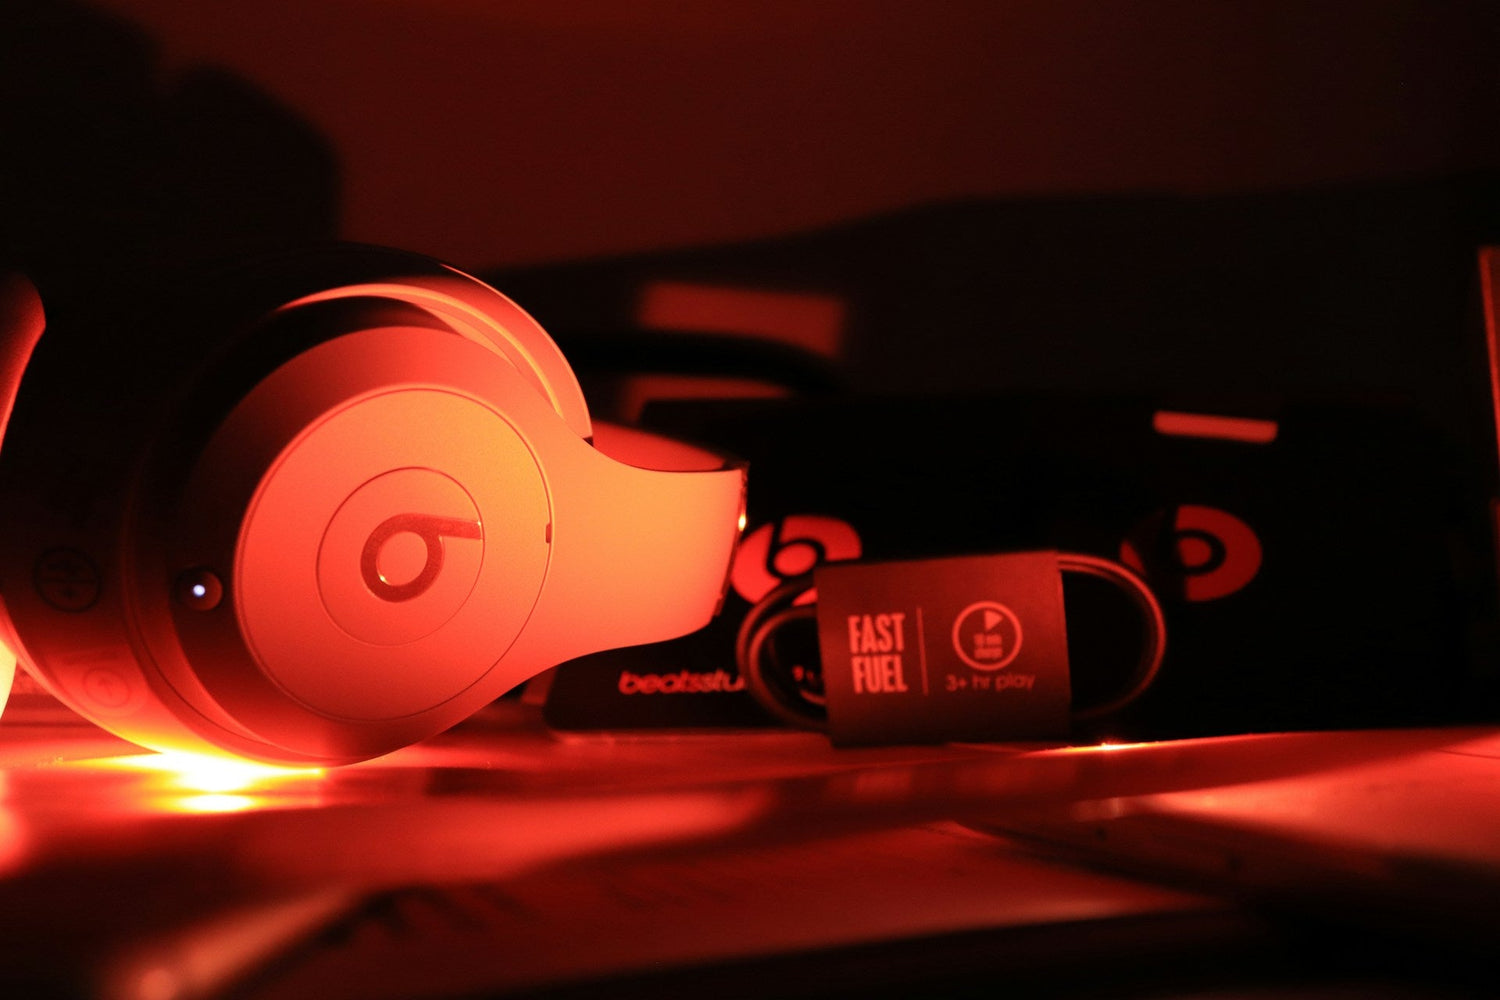
Your Beats Studio 3 ear pads do a lot more than feel soft on your head. They are a big part of how the active noise-canceling works, how strong the bass feels, and how natural your music sounds. When you swap pads, even if you use official replacements, that balance can shift and your headphones can suddenly feel weaker or strange.
In late spring and early summer, this shows up fast. People are flying more, riding trains, biking, and hitting louder gyms. Fresh pads go on, then the first trip happens, and the ANC that used to crush engine noise now lets way more sound through. In this guide, we will walk through simple home tests, fit checks that matter specifically for Beats Studio 3, and reset steps so you can bring the ANC performance back to where it should be.
Why New Beats Studio 3 Ear Pads Can Break ANC
The original Beats Studio 3 ear pads are not just random foam circles. Their thickness, foam density, and inner cavity size are all tuned around the ANC microphones and DSP inside the headphones. The headphones are listening to the outside world and to the sound inside the cups, then they create an opposite signal. When the pad shape changes, the math changes.
After a pad swap, it is common to notice things like:
- Weaker bass or a thin sound
- A hollow or echo-like tone around voices
- ANC that feels hissy, pumping, or uneven
- One side blocking noise better than the other
- Outside sounds like AC vents or engines suddenly popping through
Most of this comes from three main issues after installing new Beats Studio 3 ear pads:
- Poor seal around glasses, hair, beard, or jawline
- Pads not fully seated in the mounting ring or slightly twisted
- Replacement pads with very different material or thickness compared to the originals
The good news is that many of these problems can be fixed with careful checks at home.
Quick at-Home Seal Tests for Beats Studio 3
Before blaming the pads, it helps to test the seal. You do not need any tools, just a quiet spot and a couple of simple sound sources.
Start with a basic silent room test:
1. Go to the quietest room you can find.
2. Put on your Beats Studio 3, turn on ANC, and do not play music.
3. Listen for soft sounds like HVAC, fridge hum, or faint street noise.
4. Gently press each ear cup toward your head.
If the noise drops a lot when you press the cups, your normal seal is not as tight as it should be.
Next, try a leak check with constant noise:
- Use a fan, kitchen range hood, or white noise on your phone.
- Stand or sit at a fixed distance from the noise source.
- With ANC on, slowly move your jaw, smile, or talk.
- Shift the headband a bit forward and back on your head.
- If you wear glasses, slowly move the frames up and down.
Any spot where the noise suddenly gets louder is a leak point. That tells you where the pad seal is breaking.
Then do a simple bass seal test:
1. Play a track with steady low bass, something around 40, 80 Hz if you have it.
2. Keep the volume low to medium.
3. Listen normally for a few seconds.
4. Now lightly press each cup toward your head again.
If the bass jumps when you press, the pads are not sealing tight enough on their own. That can be from pad shape, clamp force, or how the pads are attached.
Checking Beats Studio 3 Pad Alignment and Fit
Beats Studio 3 ear pads attach using a mounting ring system with adhesive or a lip, depending on which version of the pads you have. If the pad is rotated a few millimeters or the ring is not fully clicked in, the driver can lean, and the ANC microphones get a different sound than they expect.
Do a slow visual check in good light:
- Look around the full edge of each pad.
- Make sure there are no gaps where the pad meets the cup.
- Check for areas where the adhesive looks lifted or wrinkled.
- Compare left and right pads for height and angle.
Both pads should sit at the same height, with even compression all the way around. If one looks puffier, flatter, or twisted, remove it and reseat it carefully.
Then check clamp force and contact:
1. Without putting the headphones on, gently flex the headband outward and let it return. You just want to feel how tight it is, not bend it far.
2. Put the headphones on and pay attention to the contact around your cheeks and jawline.
3. Notice if one side feels like it is floating or barely touching.
Some people do a very small headband adjustment to even pressure, but you want to stay within what feels natural and not strain the plastic. Big bends can cause damage, so small changes and careful testing are key.
Resetting ANC and EQ After Pad Replacement
Once the physical fit looks right, it is time to reset the electronics so the Beats can "forget" old settings and pairings. That gives ANC the cleanest shot at working correctly with your new Beats Studio 3 ear pads.
Do a full reset on the headphones:
- Power the headphones off.
- Hold the power button and the volume down button together for several seconds, until the LED lights flash.
- Let go, then turn the headphones back on.
- Remove the Beats from the Bluetooth list on your phone or computer and pair them again like new.
On iPhone or iPad, clean up audio settings:
1. Turn off any EQ in your music app.
2. Disable third-party EQ or sound effect apps.
3. Check accessibility audio balance so left and right are centered.
4. If you use spatial audio personalization, run that again with the new pads.
On Android and desktop:
- Turn off OS-level sound "enhancements" like bass boost, loudness equalization, or virtual surround.
- Clear the Bluetooth pairing for the Beats, then re-pair.
- Test ANC with a flat audio signal, no EQ, using the same track at the same volume while you tweak.
Doing this removes hidden variables so you can judge the pads and ANC honestly.
Seasonal Comfort, Seal, and When to Upgrade Pads
Warmer weather brings sweat, sunscreen, and more skin oil. All of that can make ear pads feel slippery, which weakens the seal right when planes, buses, and gyms are the loudest.
Small changes can help:
- Slide the headband a little forward or back on the top of your head.
- Slightly rotate the cups so they follow your jawline more closely.
- If you have longer hair, try moving it behind your ears so it is not trapped under the pads.
- With glasses or masks, adjust the temple arms so they run either fully above or fully below the pad edge, not pressing halfway through the seal.
Sometimes, the stock material just does not match your climate or daily use. Aftermarket Beats Studio 3 ear pads come in different styles, like protein leather, cooling gel layers, or thicker memory foam. Each one can shift ANC behavior a bit, trading some isolation in one area for comfort or durability in another.
Common failure points on the original pads include:
- Peeling outer coating
- Foam flattening from daily use
- Seams cracking around the inner rim
Once pads reach that stage, ANC slowly worsens even if you get used to the change. Replacing them before they are totally worn keeps your baseline performance higher over time.
When you choose replacement pads or upgrade kits for your Beats Studio 3, focus on maintaining a strong, reliable seal for travel and daily commuting. With correctly fitted pads that match your usage and climate, you can keep your headphones performing closer to their original noise-canceling and sound quality, instead of living with weak ANC after every pad swap.
Restore Your Beats Comfort And Sound Quality
If your headphones are starting to feel worn out, our Beats Studio3 ear pads can help you bring them back to life with a simple swap. At CentralSound, we focus on parts that fit right, feel comfortable, and keep your music sounding the way it should. If you are unsure what you need or have fitment questions, contact us so we can point you in the right direction.

Leave a comment
All comments are moderated before being published.
This site is protected by hCaptcha and the hCaptcha Privacy Policy and Terms of Service apply.